Shop Vacuum Maintenance: Professional Service & Rebuild Guide
By Priya Rao • 8th Apr
A shop vacuum is only as good as its last maintenance cycle. Whether you're running a construction crew, managing a facility, or tackling serious DIY work, downtime from a clogged filter or failed seal hits your budget faster than you'd expect. I've learned through years of fleet maintenance that a $300 vac running dirty costs more in lost productivity and callbacks than the price difference between a solid unit and a budget model. This guide walks through the maintenance and rebuild decisions that keep your equipment performing (and your labor costs predictable).
Why Your Shop Vacuum Stops Working (Before It Actually Dies)
What causes sudden suction loss?
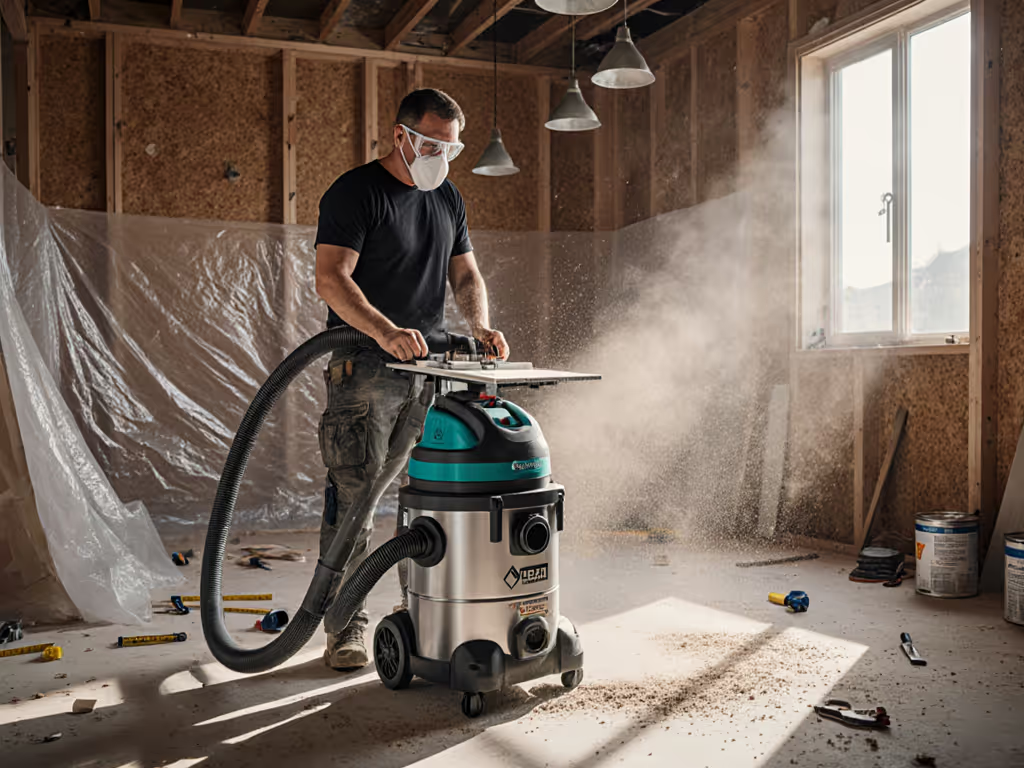
Suction loss is rarely a motor problem; it's almost always a filter, seal, or airflow blockage. The most common culprit is a clogged filter. When you're pulling fine dust (drywall, concrete, joint compound), particles pack into the filter medium faster than you'd think, even with a high-CFM unit. A paper or cartridge filter can lose 50% of its airflow in a single heavy drywall day without cleaning. For step-by-step diagnostics, see our suction loss troubleshooting guide.
The second cause is a compromised seal: a cracked filter cage, a warped float, or deteriorated gaskets around the motor head. Air bypasses the filter entirely, and dust gets sucked straight into the motor. Your CFM rating means nothing if half your air is leaking past the filter.
Third is simple obstruction: a clogged hose, blocked air vent on the motor housing, or debris wrapped around the impeller. Check for weighted, bulging spots on the hose by running your hand along it.
How does water damage a shop vacuum motor?
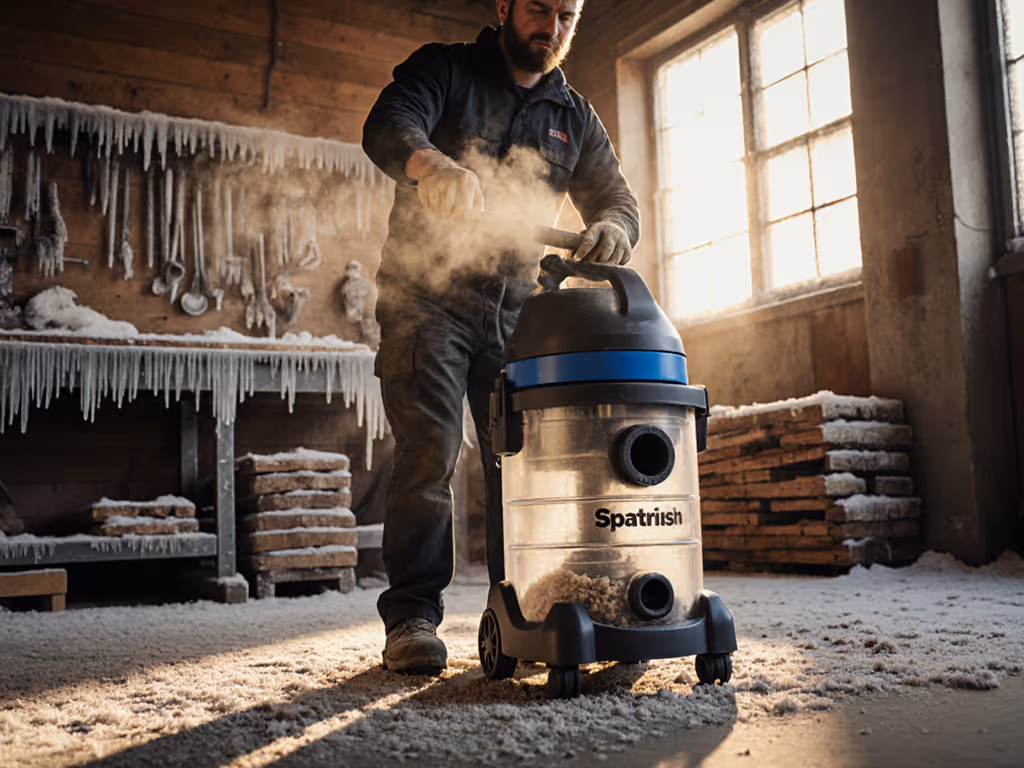
Water left in the tank promotes mold and mildew, which corrode motor windings and seals over time. But the immediate risk is different: if water is still pooled when you power up, it can hydro-lock the motor or seep into the bearing bushings, causing noise and binding.
After any wet pickup, drain the tank completely, wipe it with a dry cloth, and allow air-dry time before storage. If you're running a wet/dry setup regularly, invest in a model with a proper drain port at the lowest point (not just a center drain on the floor). Position the vac slightly tilted toward that port.
Core Maintenance Tasks: What to Do After Every Job
Cleaning your filter: the non-negotiable habit
Filter cleaning after each use is the single most impactful maintenance task. Accumulated dust reduces airflow and forces the motor to work harder, shortening bearing life and increasing heat. Over months, a neglected filter turns a 4-hour suction runtime into a 2-hour liability.
The method depends on filter type:
-
Pleated cartridge filters: Knock the filter firmly against the inside of a trash can or bucket to dislodge loose dust. Use a soft brush to gently scrub vertical pleats from top to bottom. Do not rinse unless the filter is truly caked; water can shrink the media and trap fines deeper.
-
Cloth filter bags: Shake vigorously to drop settled dust. Rinse with clean water only (do not wash with soap, which causes shrinkage).
-
Paper dust-collection bags: Dispose of full bags and replace with new ones.
If your vac is equipped with a float mechanism (common on many models), check and clean the float after each use as well. A stuck float can fool you into thinking the filter is clear when it's nearly full.
Consumables are part of the machine. Factoring filter life and cleaning time into your maintenance schedule is as critical as budgeting for gasoline.
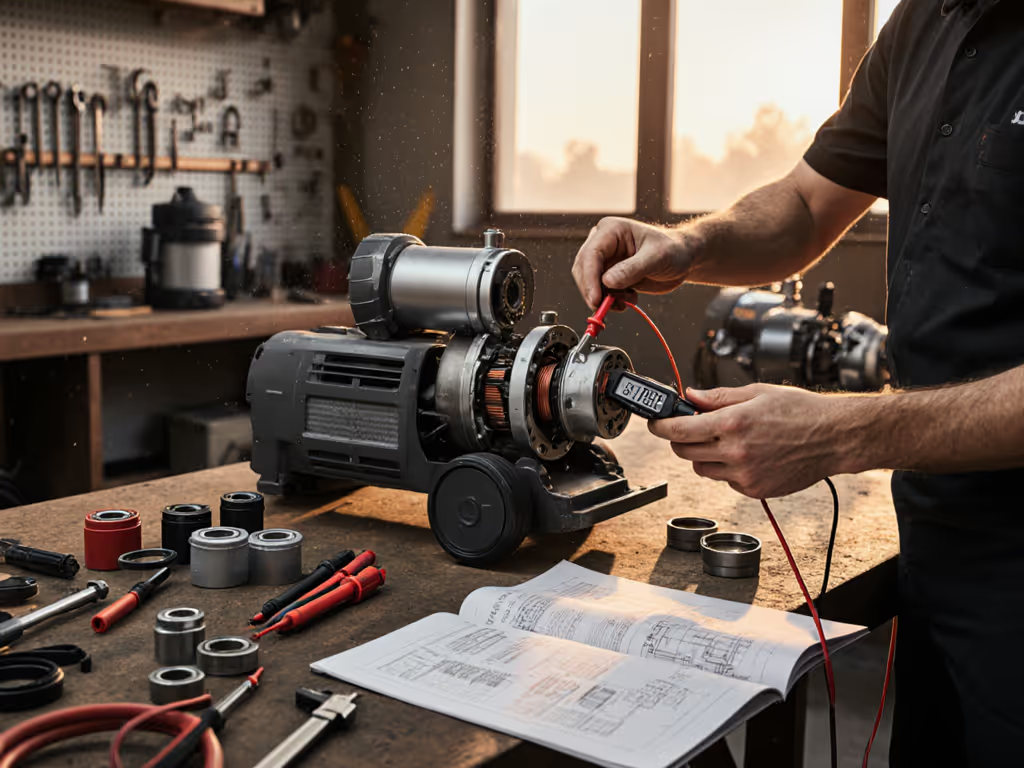
Motor and bushing care: where the noise starts
If your shop vac is beginning to whine or grind, the motor bushings (the bearing sleeves) are running dry. This is a rebuild moment.
To service a shop vac motor bushing:
- Unplug the unit and ensure it's clean and dry.
- Locate the two torx (T25) screws on either side of the motor handle (these release the motor head assembly).
- Remove the head carefully and set the motor on a clean surface.
- Clean out all dust and debris from the motor shaft and bushing area. Do not apply oil to a dusty bushing; the oil will soak up the dust instead of lubricating.
- Apply a light machine oil (3-in-1 oil is ideal) to the exposed bushing.
- Reinstall the motor head and torx screws, and verify smooth rotation by turning the motor by hand before powering up.
This simple step can eliminate noise and restore years of smooth operation. If the motor still binds or grinds after oiling, the bushing may be worn past recovery, and a motor rebuild (or replacement) becomes the next cost line.
Filter Replacement & Selection: Getting the Right Filter for Your Mess
How often should you replace a filter?
Replacement intervals vary wildly depending on dust load and filter type. A typical pleated cartridge in moderate use might last 1-2 years before it loses washability and needs replacement. In heavy drywall work, you might swap it annually. Paper dust-collection bags should be replaced when full, not washed and reused.
The real trigger is suction loss. When you've cleaned the filter thoroughly and suction is still weak, replacement is due. Track the date you install a new filter, and note the job type; over time, you'll build a predictable replacement schedule for your typical work.
Which filter for which mess?
This is where total cost of ownership gets interesting. A general-duty pleated filter is adequate for sawdust and general construction debris. But if you're running consistent drywall, concrete, or silica work, a fine-dust or HEPA-grade filter from the start saves money in callbacks and health risk.
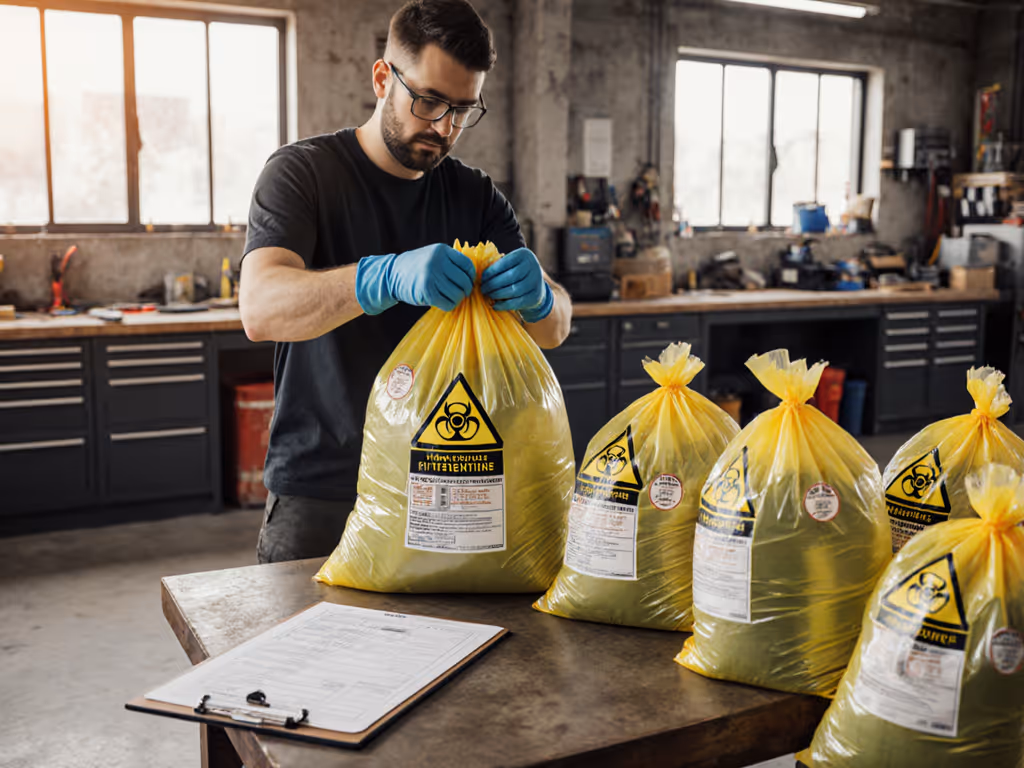
A fine-dust filter costs 20-30% more upfront but reduces filter replacement frequency and ensures better air quality. Compare media types in our foam vs paper vs HEPA filter guide. HEPA filters are warranted for silica and mold remediation where regulatory compliance is a factor (not optional extras, but part of your liability and worker protection budget).
Seal Replacement Schedule: Preventing Catastrophic Failure
When do seals fail, and what's the cost?
The filter cage gasket, motor-head seal, and inlet port gaskets all deteriorate over time; heat cycling, dust abrasion, and storage dry-rot all take a toll. A failed seal dumps unfiltered air into your motor, causing rapid contamination and bearing wear.
Common signs of seal failure:
- Dust visible around the motor head or filter cage joint
- Dust smell from the exhaust (air is leaking past the filter)
- Condensation or visible moisture inside the motor housing
Preventive seal replacement typically happens in a motor rebuild at around 5-7 years of moderate to heavy use, or sooner if you notice the warning signs. A rebuild kit with new gaskets, bushings, and seals costs $40-80 and can extend motor life by another 3-5 years, far cheaper than a new motor ($150-400) or vac ($300-800).
Warranty-Compliant Repairs: Staying Within Bounds
Can you rebuild a motor yourself, or does warranty matter?
If your vac is still under warranty, any motor disassembly voids it. Check your manual and warranty card before opening the unit. Once warranty has expired (often 1-2 years), you have options:
- Factory reconditioned parts: Many manufacturers sell replacement motors or pre-assembled head units that come with a limited reconditioning warranty.
- Third-party rebuild kits: Available for common models; include gaskets, bushings, and seals but require your own labor.
- Professional motor rebuild services: Specialized vac repair shops can rebuild your motor for $60-150 and often provide a 1-2 year warranty on the work.
If you choose the DIY rebuild path, document your work: take photos before disassembly, label any springs or clips, and keep all small parts in a labeled container. Reassembly in reverse order works only if you know what you took apart.
CFM Restoration and Long-Term Uptime Strategy
How do you get original CFM back?
CFM (cubic feet per minute) doesn't degrade on its own (the motor doesn't slow down). What feels like reduced CFM is actually reduced effective suction due to filter clogging, seal leaks, or hose restrictions. Restoring CFM means restoring filter efficiency and airflow path integrity.
The sequence:
- Deep-clean or replace the filter. This is your first 60% of CFM recovery.
- Inspect and clear the hose. Verify it's not kinked, clogged, or crushed. A 20-foot hose with a bend in it costs you CFM equivalent to running a completely different vac class. See how hose length and diameter affect suction.
- Check seals and gaskets. A leaking motor head can reduce effective CFM by 20-40%.
- Clean air vents on the motor housing. Debris-blocked cooling vents force the motor to slow or shut down thermally.
Once you've cycled through these four checks, you'll have restored 90% of original performance. If CFM is still weak, motor bearing drag or impeller wear is likely, and a professional inspection or rebuild is the next step.
Actionable Next Steps
Start here: Schedule your next maintenance cycle with three simple tasks. First, mark your calendar to clean your filter after every job (write it down or set a phone reminder before you pack up the truck). Second, inspect your hose for kinks or blockages and your motor housing air vents for debris. Third, listen to your vac; if it sounds different (whining, grinding, losing quiet), note the date and consider a motor inspection or bushing oil change before the noise gets worse.
If you're running this equipment for a crew or facility, build a maintenance log with filter replacement dates, seal inspection notes, and any repairs. Track downtime against filter clog events and seal failures. Over time, this data drives your replenishment budget and tells you whether upgrading to a higher-capacity vac or adding a pre-separator cyclone makes financial sense. Learn the benefits and setup tips in our guide to cyclone dust separators. Pay once for uptime; pay forever for clogs and callbacks.
Related Articles