DIY Shop Vac Dolly: Uptime and Stability Guide
By Priya Rao • 20th Apr
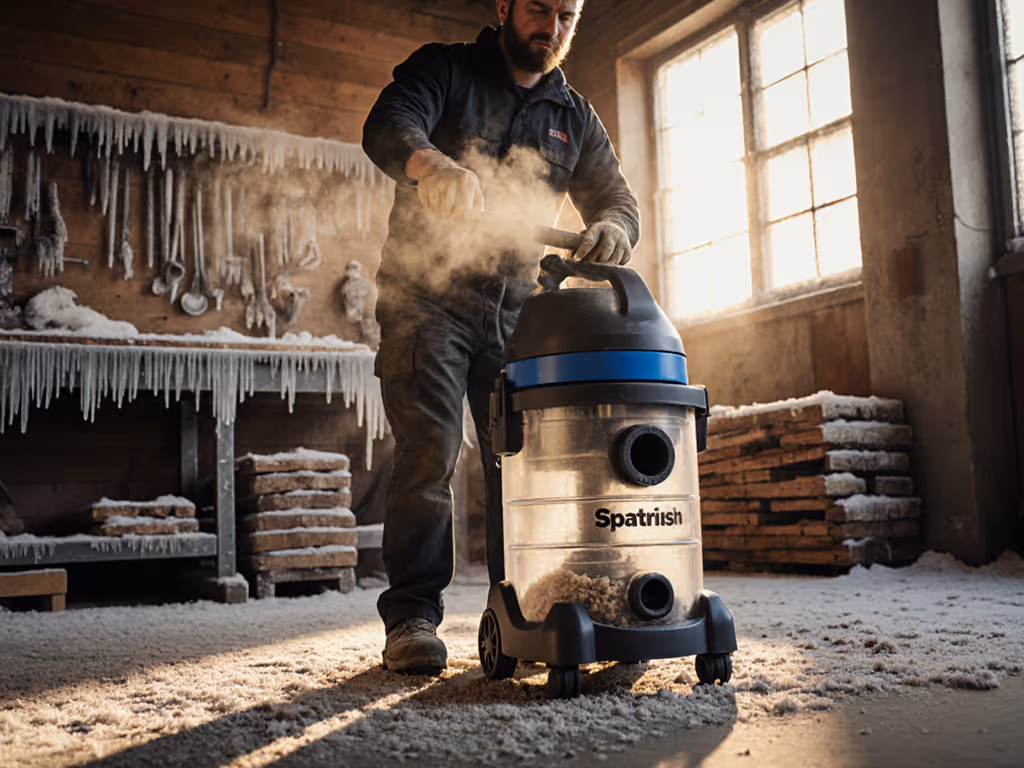
A DIY shop vac dolly is a wheeled platform that keeps your shop vac stable, accessible, and ready to move between job sites or shop areas without wrestling with an awkward, tippy machine. The best builds take maintenance and suction loss seriously from the start, not as afterthoughts. That's what separates a cart that eats a weekend and saves you months of lost productivity from one that looks clever but collapses under real-world abuse.
I've watched enough job site chaos to know: a vac that tips, wobbles, or leaves dust trails while rolling will burn money faster than a clogged filter. This guide walks you through the questions that matter when you decide to build one yourself.
Why Should You Build a DIY Shop Vac Dolly?
Factory carts cost real money and often don't fit your specific machine or your job layout. A custom wheeled vacuum platform you build yourself (whether from plywood and casters or a PVC frame) buys you flexibility and lets you design for your maintenance rhythm from day one.
Here's the math: if you're moving a vac three times per job and each move costs 10 minutes of fumbling, adapter swaps, and restabilizing, that's 30 minutes per day on a two-job week. Over a year, 30 minutes × 100 working days = 50 hours of lost time. At $50 per billable hour, that's $2,500 in buried labor. A cart costs $150 to $400 in materials and a weekend. The ROI is not a question; it's a done deal.
The other truth: mobility forces you to think about filter accessibility and dust separator placement before you build, not after your first job clogs the intake hose. For a deeper dive on why a pre-separator extends filter life and suction, see our cyclone separator guide.
What Design Fits Your Workflow?
You're working with two main approaches: a simple plywood platform with casters, or a PVC frame build with a cyclone separator mounted on top.
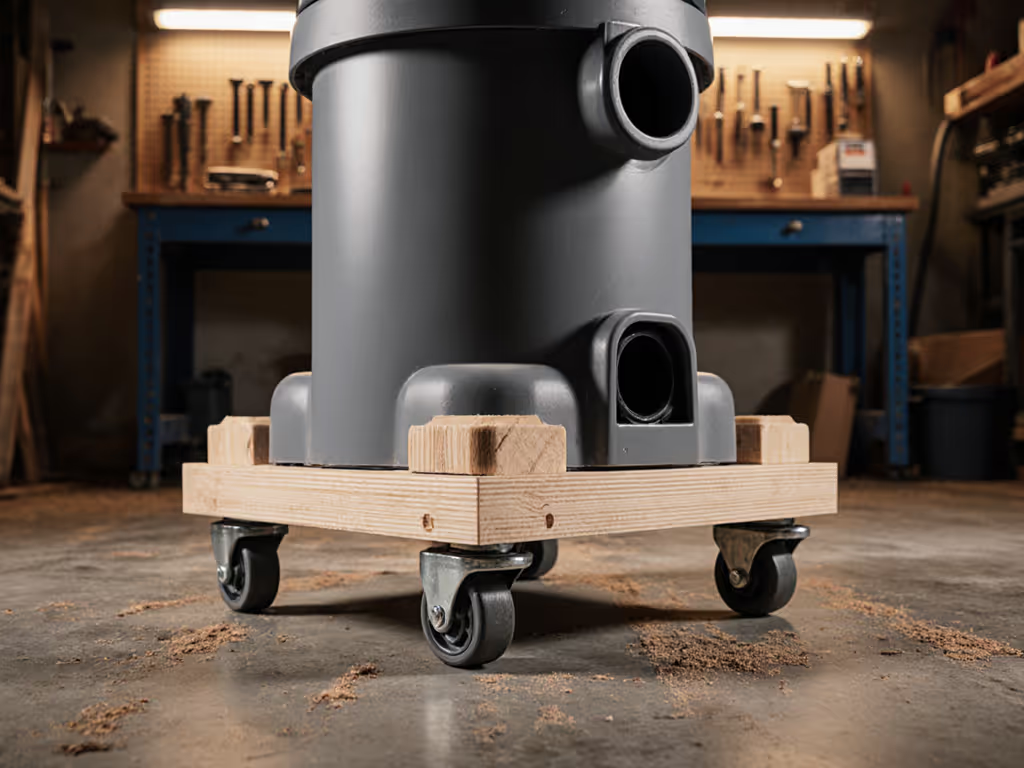
Plywood Platform (Fastest, Most Flexible)
A half sheet of 3/4-inch plywood, cut to size, becomes your base. You add 2×4 frame pieces, 3-inch casters (swivel or fixed), and a low vertical shelf if you want to tuck a cyclone bucket or filter bags underneath. Build time is a single day, and you're not fighting PVC thread calculations.
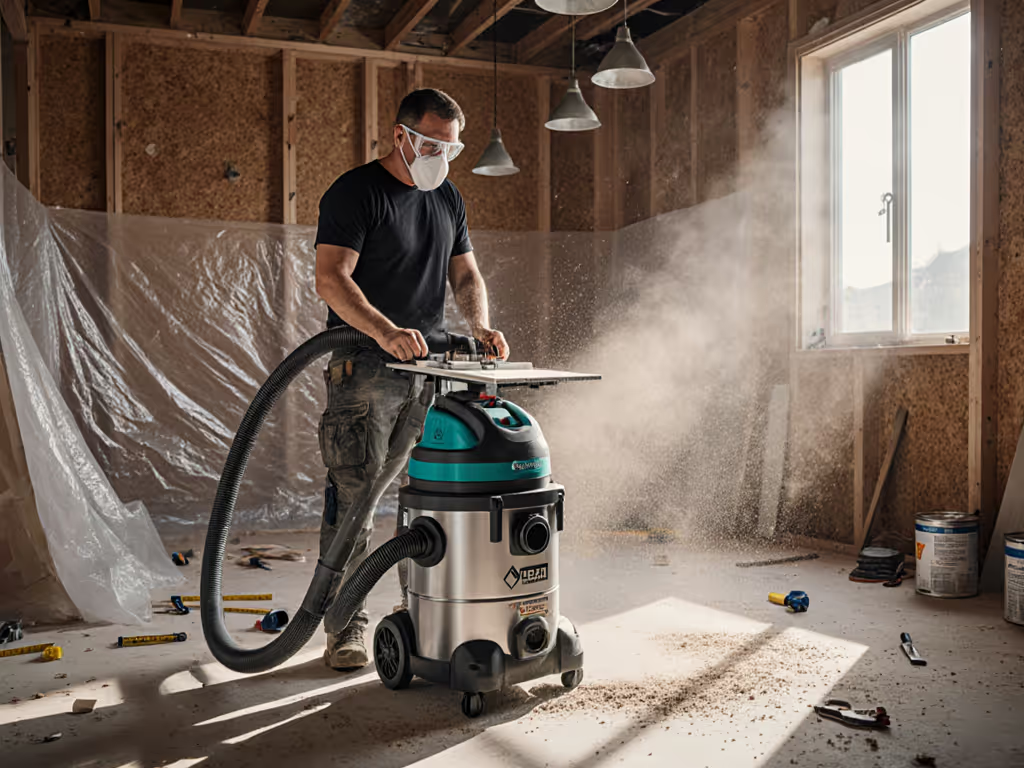
Use: drywall, general dust, light concrete work. Design advantage is real estate: you can slide storage racks alongside the vac and keep hoses, adapters, and nozzles visible and organized. To outfit those tools intelligently, compare shop vac attachments.
Maintenance trigger: check caster hardware monthly. Casters eat dust and debris; spinning them smooth every few months saves rust and squeaks.
PVC Frame (Taller, More Rigid)
Risers made from 2-inch PVC pipe give you a frame that sits the shop vac higher and cradles a 5-gallon dust separator or cyclone bucket on top. You're using PVC couplers and elbows to lock the geometry, then bolting the whole frame to a plywood base with casters.
Use: jobs where the separator sits directly above the vac intake, and vertical footprint matters more than horizontal sprawl. Ideal for compact job sites and trailers.
Maintenance trigger: inspect PVC couplers for cracks; they dry-rot under UV and vibration. A failed coupler mid-job isn't just annoying, it's a cost multiplier when dust clouds the workspace.
How Do You Account for Uptime in the Build?
There's a reason I mention maintenance during the build conversation: consumables are part of the machine. Pay once for uptime; pay forever for clogs and callbacks.
Design your dolly so filters and bags are reachable without tipping the cart or unbolting the vac. If reaching the filter takes five minutes because you built it into a tight shelf, you'll skip maintenance. A skipped filter cleaning on a drywall job means suction drops 40 percent within two hours.
Choose your mounting for quick changes. A cyclone separated bucket should swap in 60 seconds. If hose couplings require pliers or adapters, dust will accumulate on threads and compromise air seals. Use quick-release couplings with clamping rings; budget $30 to $50 for two quality connections.
Add drainage if you're doing any wet work. A PVC frame design with a small drain port at the lowest point costs nothing to add during build and prevents odor and mold from settling in your vac's tank. Even a 1/4-inch spigot and cap beats a ruined motor.
Stabilize the base. Casters are wheels, but a cart is only as stable as its footprint. A tapered base (wider at the bottom, narrower at the top) is safer than a square platform. If your dolly holds a 20-pound vac, 15-pound separator, hoses, and tool adapters, you're looking at 40+ pounds of momentum. Narrow casters and a high center of gravity guarantee tips.
What About Mobility and Stability Trade-Offs?
Wheels are convenient until they're not. Here's what breaks carts in the field:
Swivel casters on all four corners let you rotate on a tight site, but they're unstable under load when you're pushing uphill or over rough concrete. Two fixed casters (back) and two swivels (front) give you steering without wobble.
Caster size matters more than most people realize. A 3-inch wheel rolls over cord, hose, and gravel. A 2-inch wheel sinks into soft ground or gravel and eats friction. Budget for the larger size if you're moving between outdoor job sites.
Weight distribution is the third variable. If your vac, separator, and accessories sit too far forward, the cart will tip nose-down the moment a hose snags or you lean into a pull. To reduce snag risk and preserve airflow, review how hose length and diameter affect suction. Mount heavier items (the vac itself) directly over the rear axle line. Lighter items (hoses, adapters, bags) go toward the front.
What's the Real Cost When Wheels and Downtime Factor In?
Let's talk total cost of ownership in plain numbers: For a broader comparison across models, see our 5-year cost breakdown.
Build cost: $200 to $400 for materials (plywood, PVC, casters, hardware, a few fasteners).
Caster replacement (every 18-24 months of heavy use): $80 to $120 for a quality set.
Filter or bag replacement (this is where cart design pays off): If your dolly design forces awkward filter access, you skip cleaning, suction drops faster, and you're buying replacements every 6 weeks instead of every 12 weeks. That's an extra $60 to $100 per year in consumables, plus 2-3 hours of lost billable time chasing failed suction.
Labor cost of setup/breakdown per job: On a well-designed dolly, 5-10 minutes. On a tippy, poorly organized cart, 20-30 minutes. If you're doing 200 jobs per year, you're looking at 25 to 100 extra hours of unpaid labor annually.
The math is stark: a cart that costs $300 to build and $150 every two years in maintenance saves you $2,000+ annually in labor and consumables downtime. That's assuming no callbacks from dust cross-contamination or filter failures on site.
Summary and Final Verdict
A DIY shop vac dolly is not a luxury; it's a preventive maintenance tool that doubles as a mobility platform. The build itself (whether you choose plywood or PVC) is straightforward enough for a weekend, but the payoff arrives every time you roll that cart instead of carrying a vac, and every time you're not wrestling with clogged filters because you made them accessible.
Build for stability first (tapered base, weight distribution, quality casters), then add filter accessibility and drainage before you ever run a tool. Design the cart around your maintenance routine, not around what fits in your garage. A compact footprint that forces you to skip filter cleaning will cost you far more in downtime than the extra 6 inches you'll sacrifice for a removable tray.
Your choice of plywood or PVC depends on your site profile: PVC for trailers and compact builds, plywood for flexibility and real estate. Either way, you're trading a weekend of work for months of uptime and the confidence that your dust collection won't tip, won't clog, and won't strand you mid-job. That's the real return on a DIY dolly.
Related Articles