Stop Grease Messes: Hood Vent Vacuum Cleaning Done Right
By Hana Kobayashi • 2nd Jan
When tackling commercial kitchen exhaust cleaning, your vacuum setup isn't just supplementary, it is the backbone of a clean, professional job. Forget peak HP ratings; what matters most is whether your hood vent vacuum techniques keep grease confined where it belongs. One stray puff of aerosolized grease can ruin newly installed cabinetry or trigger an OSHA violation before you've even finished the job. I've seen it happen too many times; equipment that should work becomes a liability because it wasn't configured for the reality of grease-laden airflow. Today, I'll walk you through the vacuum-specific steps that prevent disasters and keep your reputation intact.
Pre-Work Checklist: Your 5-Minute Setback Preventer
Before you crack open a degreaser bottle, your vacuum system needs verification. This isn't just about suction (it's about workflow integrity). Run through these steps while your degreaser soaks:
-
Test all equipment (including the vacuum) on low power before entering the kitchen. Verify seals, hose connections, and filter stability. A vacuum that seems operational might leak at full throttle when grease hits the filter.
-
Map your vacuum's weak points: Is your hose long enough to reach the fan housing without stretching? Do casters lock securely on tile floors? Will filter access require moving a 50-lb machine mid job? Document these pre-flight.
-
Confirm your filter-bag pairing: Commercial kitchen grease requires a dual-layer approach (foam sleeve plus fleece bag). Paper filters disintegrate with hot grease, while standard HEPA clogs within minutes. For a deeper breakdown of foam vs paper vs HEPA filters in grease-heavy jobs, see our filter comparison. Measure your grease trap tray dimensions to ensure your bag has clearance.
-
Tension-test your hose: At the farthest cleaning point, pinch the hose midway. If suction drops noticeably, you need shorter runs or larger diameter (2-1/2" minimum for grease jobs).
Prep beats cleanup. Always. That tall vacuum that "seemed sturdy enough" until it hit a cord during a client walk-through? It puffed drywall dust across newly installed cabinets. I learned fast: low, stable canisters with secured hoses prevent reputation damage.
Equipment Setup: The Anti-Splash Configuration
Plastic Containment System
Most guides skip how vacuum integration affects containment. Here's what works:
-
Create a "funnel" with contractor plastic below the hood by tucking 1/2" into the track using a spatula (not your hand, grease burns). Leave 6" of plastic overlapping the vacuum inlet for direct coupling. Secure with PVC tape (never duct tape, because residue mixes with grease).
-
Position your vacuum downstream from the washing point. If rinsing from the fan backward toward the hood, your vacuum should be nearest the hood. This creates negative pressure that pulls grease away from clean areas. If you need a fire-safe, high-temperature setup for hoods and ducts, see our NFPA 96 commercial kitchen vacuum guide.
-
For grease duct vacuum procedures, attach a 5-gallon bucket with drain port between vacuum and hose. Grease-laden water bypasses the filter chamber, extending runtime by 3x. Tip: Add 1/4 cup dish soap to the bucket, it emulsifies grease for easier disposal.
Tool-Specific Modifications
-
Shorten your hose to 10' max for hood work. Excess length creates drag points where grease pools. For sizing guidance, see how hose length and diameter impact suction. Use 2-1/2" anti-static hose (27mm adapter on the vacuum end) to prevent static cling that causes grease to coat walls.
-
Strap your tools to the vacuum body with nylon straps (not bungees). On my last job, loose crevice tools knocked the vacuum off balance when the door swung open. Now, I anchor everything within arm's reach.
-
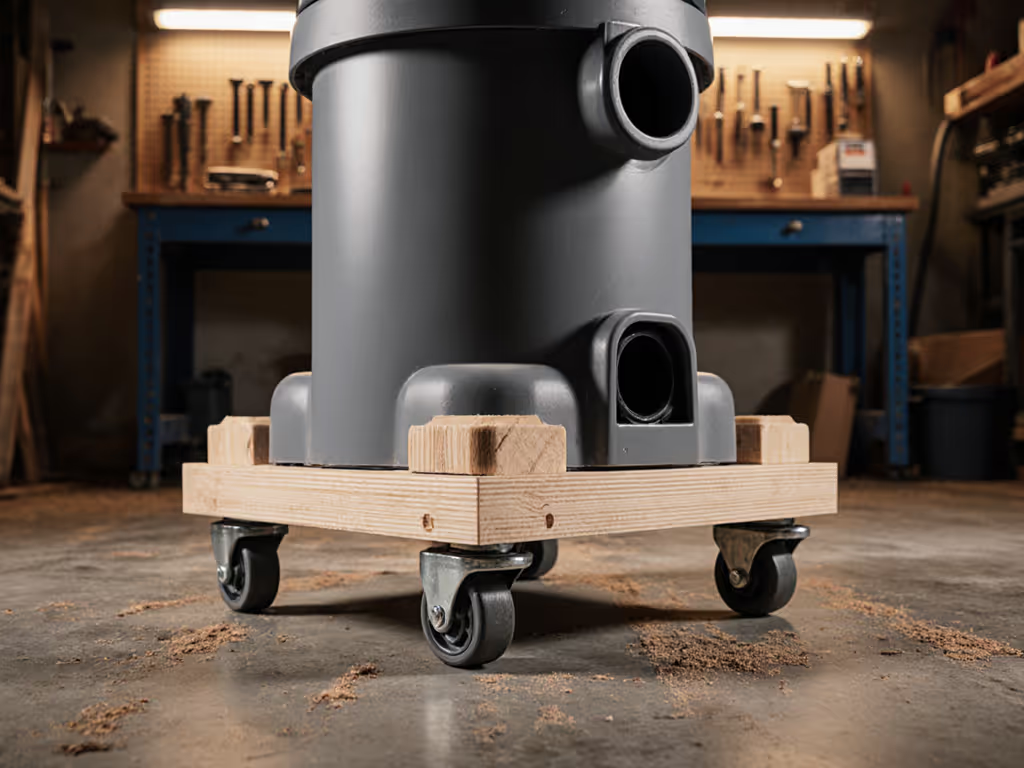
Install locking cam locks on casters if working on slick surfaces. Grease runoff makes even "stable" bases slide. I prefer 3-point stance vacuums (front caster + dual rear wheels) over 4-wheel designs. They resist tipping when you lean on them.
The Cleaning Process: Vacuum-Integrated Technique
Stage 1: Filter & Grease Trap Removal
Remove filters first (before power washing). Spray them with degreaser immediately and place in a separate soak bin. Why? Grease-laden filters dripping during transport contaminate floors and create slip hazards. Your vacuum waits idle here; rushing this step risks cross-contamination.
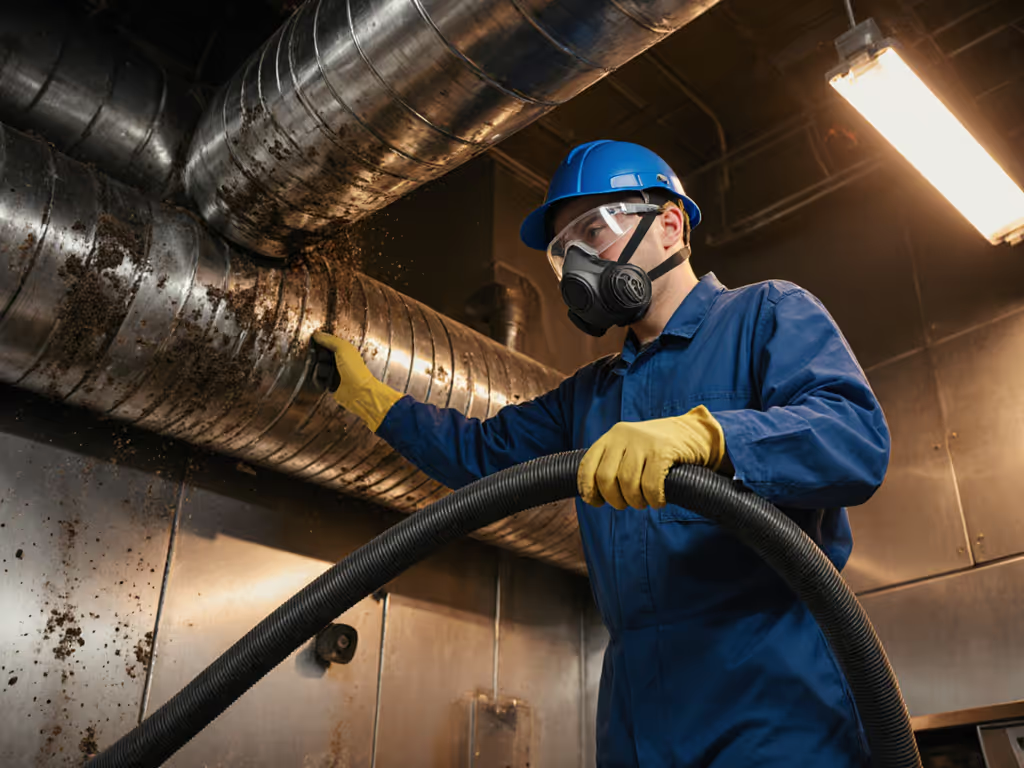
Stage 2: Plenum and Duct Cleaning
This is where restaurant exhaust system cleaning goes wrong 90% of the time. Follow this sequence:
-
Apply degreaser to the hood plenum (the large interior space) and all visible ducts. Wait the full dwell time, never rinse early. Grease re-adheres if not fully emulsified.
-
Start vacuuming before rinsing. Position the inlet 6" from the farthest point in the duct. Begin with low pressure to pull initial runoff, then ramp up as flow increases.
-
Rinse backward toward the hood (never forward toward the fan). Gravity pulls grease downward; fighting it creates pooling. Keep your vacuum inlet moving with the water flow to prevent back-splash.
-
Use a narrow nozzle attachment (1-1/4") for track lines. These grooves trap the thickest grease. Position the vacuum inlet directly below as you scrub to capture debris before it spreads.
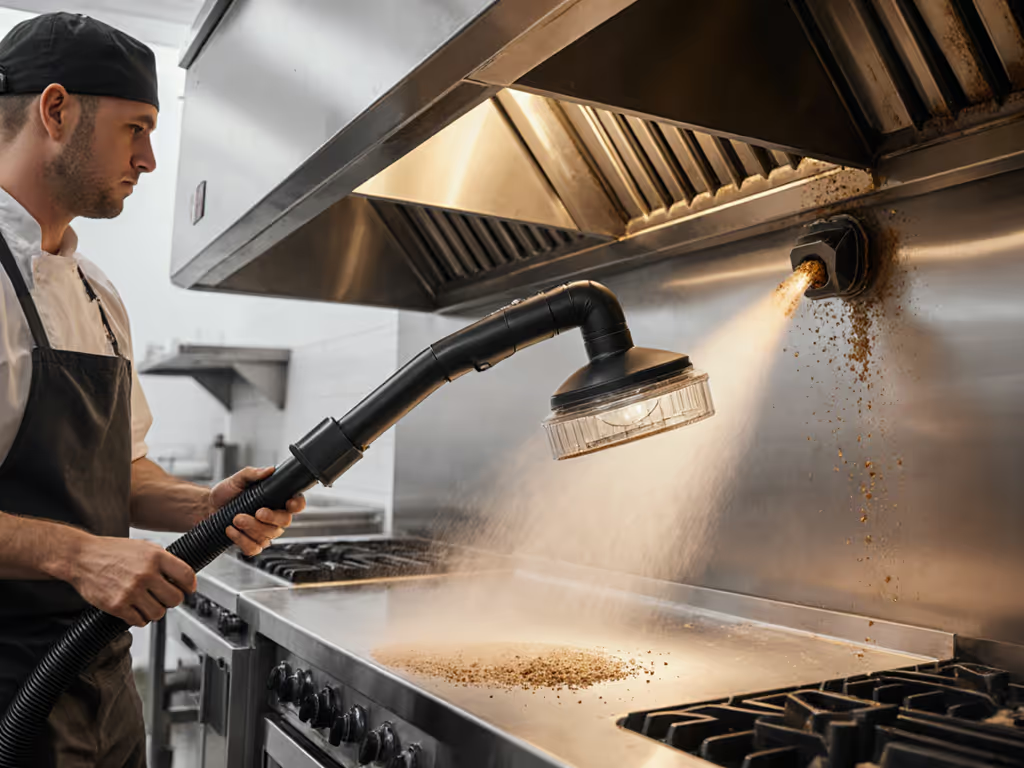
Stage 3: Fan Housing Cleanup
Roof-mounted fans are vacuum critical points. Remove fan covers first, then:
-
Vacuum housing before degreasing to remove loose debris. A single clog here can shut down your entire vacuum mid job.
-
When spraying degreaser on fan blades, angle your vacuum inlet downward. Grease runoff follows blade curvature. Match your suction point to its path.
-
Never use high-pressure washers near the fan motor. Moisture ingress causes motor failure. Use a low-flow spray while vacuuming simultaneously to capture overspray.
Post-Cleaning Protocol: Avoid the "Clean Kitchen, Dirty Floor" Trap
Your vacuum work isn't done when the hood looks clean. This final phase determines whether you leave a pristine site or track grease through the dining area:
-
Clean filters off-site if possible. If not, vacuum the soak bin perimeter before removing filters. Even "clean" filters shed grease particles when handled.
-
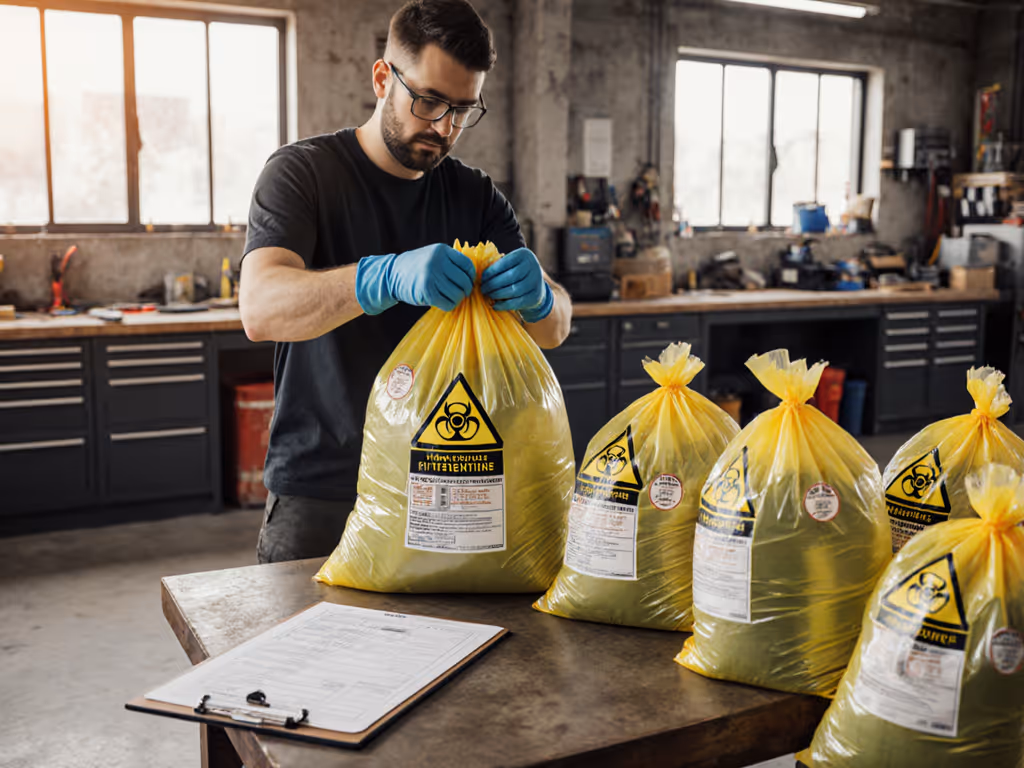
Change vacuum bags outside. Grease odor permeates enclosed spaces fast. For safe disposal of contaminated filters and grease-laden waste, follow our vacuum filter disposal guide. I keep a spare bag in my truck. Never reuse a grease-contaminated one, even if it "looks empty."
-
Wipe all plastic containment down with vinegar solution before removal. This neutralizes residual grease that would otherwise transfer to clean surfaces during cleanup.
-
Do a final vacuum pass over floor tiles near the hood with a dry microfiber attachment. Grease migrates further than you think, especially under equipment legs.
A vac that stays upright keeps your reputation upright. I've walked clients through grease jobs where they didn't even notice the vacuum in the corner because it stayed in the corner (no spills, no noise complaints, no frantic scrambling when the door opened).
Next Step: Audit Your Vacuum Workflow Today
Grab your vacuum tomorrow morning and run through the pre-flight checklist in this article. Test connections, measure hose lengths, and verify filter compatibility with grease jobs. Take photos of problem spots (like a hose that kinks when reaching the fan housing) and solve them before your next commercial kitchen job. This 10-minute investment prevents costly callbacks and reputation damage. When your vacuum system runs silently in the background doing exactly what it should, your clients notice the results, not the mess you avoided. That's how you build repeat business in commercial kitchen deep cleaning.
Related Articles