Insulation Vacuuming Guide: Safe Fiberglass Dust Collection
By Aisha El-Sayed • 16th Jan
As someone who's watched crews cough through drywall dust clouds and seen the OSHA citations pile up, I've built this insulation vacuuming guide to help you navigate the messy reality of fiberglass dust collection. It's not about perfect conditions, it's about what works when the pressure's on and your crew's lungs are counting on you. After all these years, I still say: Containment first; cleanup is the insurance your lungs deserve.
Why This Matters More Than You Think
Fiberglass dust may seem harmless until you're staring at a violation notice or hearing your lead carpenter complain about burning eyes. That masonry crew I mentioned? They thought "just a quick cut" wouldn't matter. No HEPA filter, no sealed system, just dry cutting that created a dust cloud thick enough to see your breath in. For concrete and masonry work, follow our OSHA silica-safe vacuum setup guide. The citation wasn't just expensive; it damaged client trust. We rebuilt our approach with simple, labeled kits you can actually use under pressure.
What Safety Gear Is Absolutely Non-Negotiable?
Q: What personal protective equipment (PPE) must my crew wear for fiberglass insulation removal?
A: Think of PPE as your first line of containment (before any dust even gets airborne). Here's my site-ready checklist with clear pass/fail criteria:
- Respirator: N95 minimum, but I over-spec toward N100 or half-face respirators with P100 filters for prolonged exposure
- Eye protection: Tight-sealing safety goggles (regular safety glasses won't cut it, fibers find gaps)
- Skin protection: Long sleeves, pants, disposable coveralls with taped cuffs and collar
- Gloves: Heavy-duty, slash-resistant (fiberglass cuts through standard work gloves)
Remember: Your PPE fails if fibers can bypass it. Test your seal by stepping into a controlled dust cloud (yes, I make crews do this during training). If you feel tickling in your nose or see fibers on your neck, your protection failed. Start over.
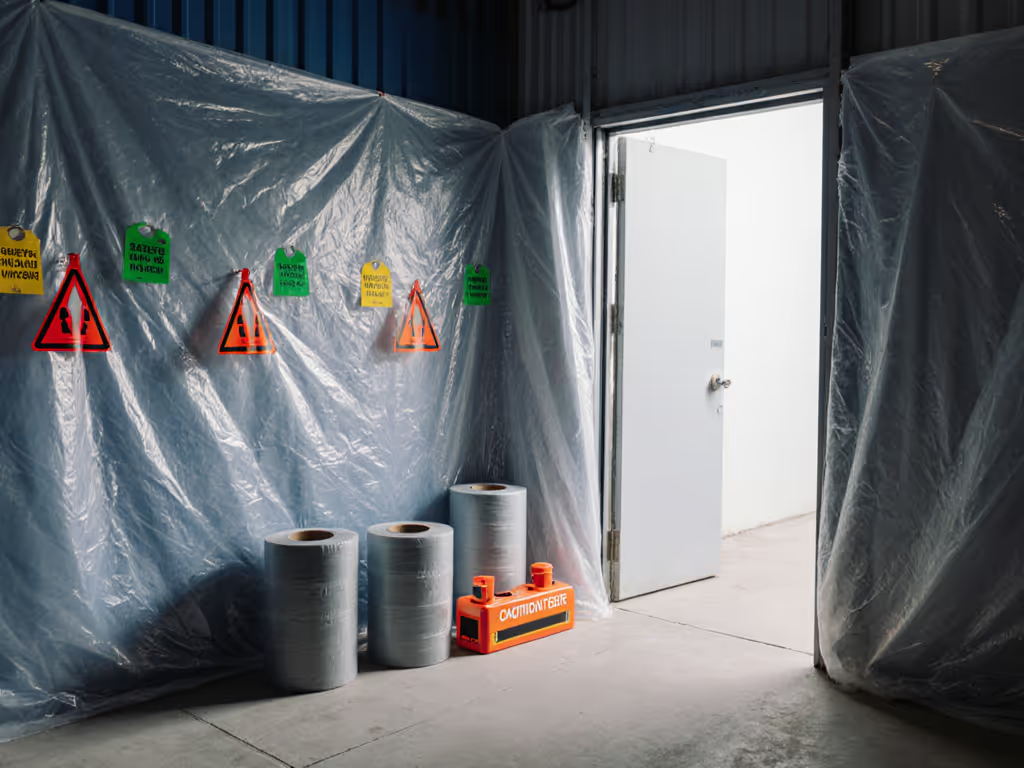
Setting Up Your Containment Zone
Q: How do I properly contain the work area before starting insulation vacuuming?
A: Containment isn't optional, it's how you protect people beyond your immediate crew. My risk categories for exposure scenarios:
- Level 1 (low risk): Small patch repairs in unoccupied space
- Level 2 (medium risk): Room-sized removal with occupants nearby
- Level 3 (high risk): Whole-house or occupied building work
For Levels 2 and 3:
- Close and seal HVAC vents with plastic and tape
- Cover doorways with overlapping plastic sheeting (minimum 6-mil)
- Create a negative air pressure zone with exhaust fans venting outside
- Seal every joint on purpose, and don't trust "good enough" plastic overlaps
Pro tip: Label your containment zones with red/yellow/green tags showing required PPE levels. New crews understand visual cues faster than written protocols.
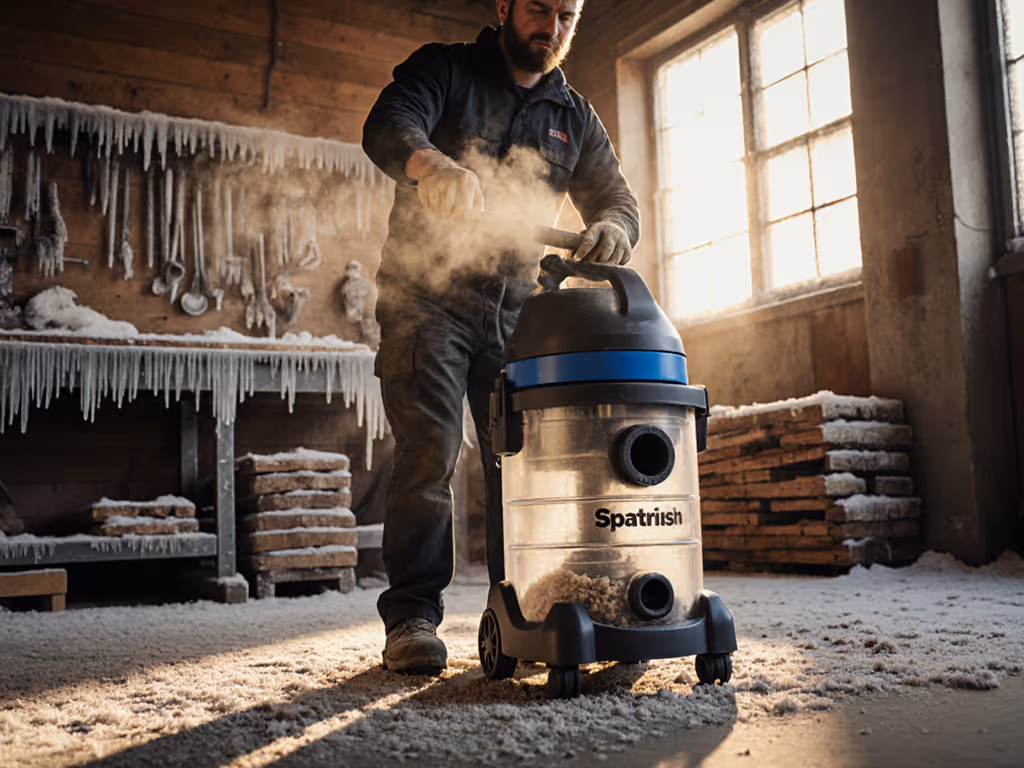
Choosing the Right Vacuum System
Q: What makes an insulation removal vacuum actually effective for fiberglass dust?
A: Not all vacs are equal when it comes to hazardous dust control. Here's what I require on my sites:
- True HEPA filtration: Must capture 99.97% of particles 0.3 microns or larger
- Sealed system: No air leaks between collection point and filter
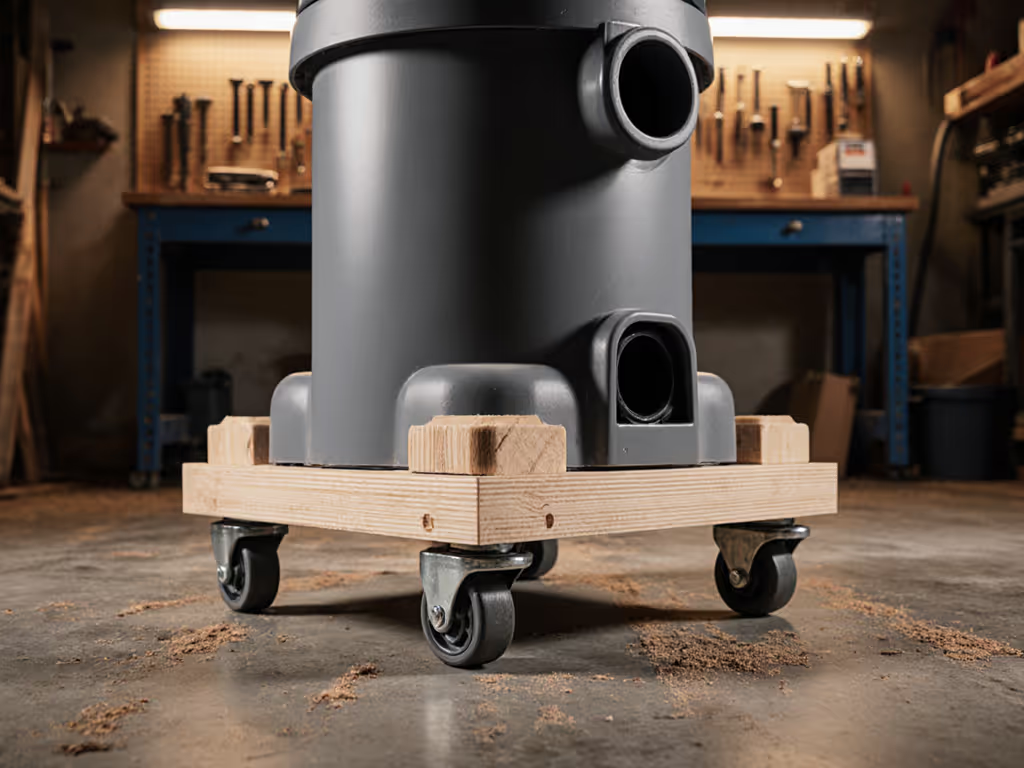
- Appropriate capacity: Matches job size (small jobs can use 5-gallon, large attics need 14+ gallon)
- CFM rating: Minimum 100 CFM for blown-in insulation cleanup; higher for dense materials
That drywall vac your crew wants to borrow? Almost certainly lacks verified HEPA filtration and sealed connections. I've seen too many "HEPA" vacs that leak contaminated air around the filter housing. Ask for the test certificate (no certificate, no acceptance).
Q: Can I use the same vacuum for cellulose and fiberglass insulation?
A: Absolutely not without proper decontamination. Cellulose is less hazardous but creates different particle sizes. Cross-contaminating vacs creates false security. For cellulose vacuum safety, follow this procedure:
- Empty collection chamber outdoors
- Wipe entire interior with damp cloth
- Replace pre-filter and main filter
- Run for 5 minutes with HEPA filter outside to clear residual dust
Never skip filter replacement. Cellulose dust coats fiberglass filters differently, causing premature clogging you won't notice until it's too late. Keep suction strong with our filter cleaning and maintenance guide.
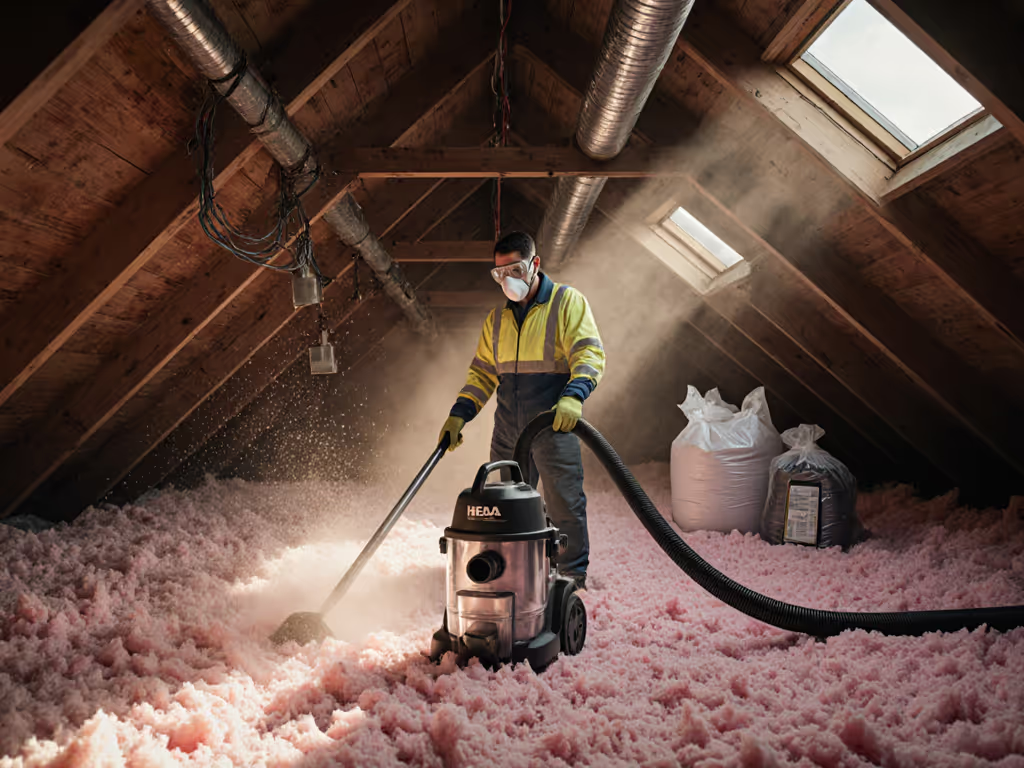
Proper Vacuuming Technique
Q: What's the correct method for fiberglass dust collection during removal?
A: Technique matters as much as equipment. Here's the step-by-step I teach crews:
- Pre-wet insulation lightly (not soaking) to reduce airborne particles
- Work systematically from highest point downward
- Hold vacuum nozzle within 1 inch of work surface, any farther and you lose capture efficiency
- Overlap passes by 50% to ensure complete pickup
- Check filter pressure drop hourly (sudden loss of suction = clogged filter)
The critical mistake I see? Crews move the vacuum too fast. Slow, deliberate movements capture 90%+ of dust. Rushing captures less than 60%, and that 40% ends up in your crew's lungs or your client's living space.
Disposal and Cleanup Verification
Q: How do I know my blown-in insulation cleanup is actually complete?
A: "Looks clean" isn't good enough. My verification protocol:
- HEPA vacuum every surface including framing, wiring, and ducts
- Wipe all surfaces with damp microfiber (dry wiping just redistributes dust)
- Set up sticky pads at exit points to catch residual fibers
- Perform visual inspection under bright light (fibers glitter when illuminated)
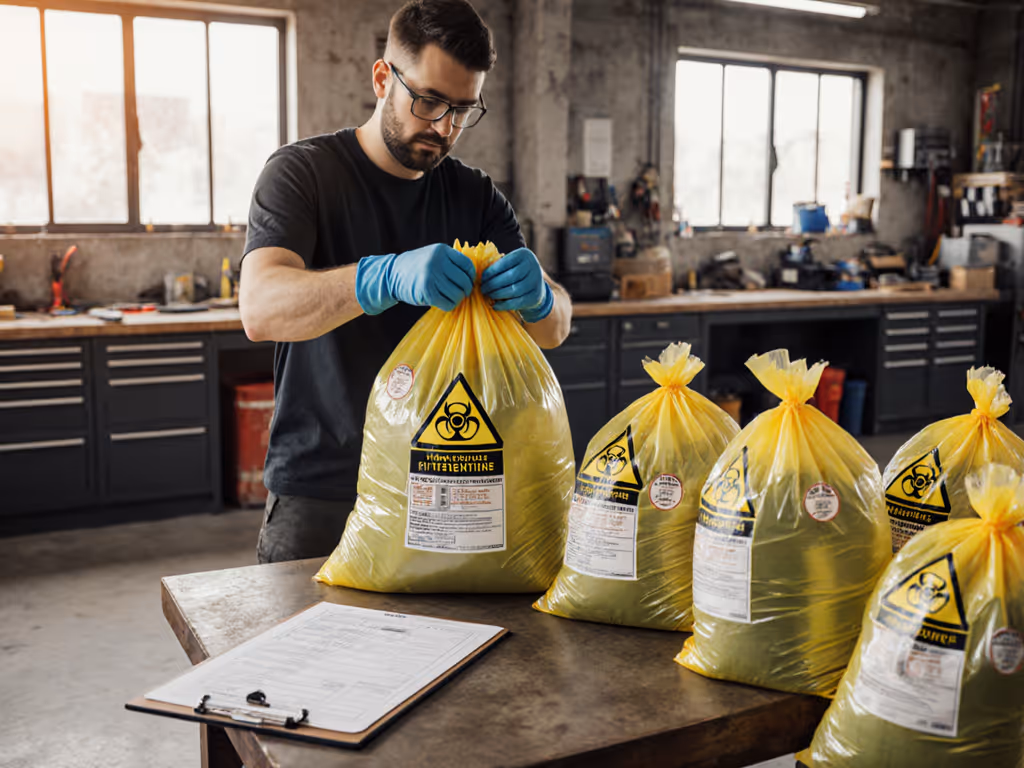
For disposal: Double-bag insulation in heavy-duty contractor bags. If you're handling contaminated debris or spent filters, follow our vacuum filter disposal guide. Seal each bag completely before moving to disposal area. Never drag bags across clean floors, carry them upright to prevent tears.
What If Exposure Happens Anyway?
Q: What immediate actions should we take if fiberglass gets in skin or eyes?
A: Exposure protocols must be posted visibly at every job site. My non-negotiables:
- Skin exposure: Rinse thoroughly with cool water (not hot, it opens pores), use adhesive tape to lift embedded fibers, then gentle soap wash. Never scrub (it pushes fibers deeper).
- Eye exposure: Flush continuously for 15+ minutes with clean water, hold eyelids open. Seek medical evaluation even if irritation subsides (embedded fibers cause long-term damage).
- Inhalation: Move to fresh air immediately, drink water to soothe throat. If coughing persists beyond 30 minutes, medical evaluation is required (not optional).
Document every exposure incident. Not just for compliance, but because patterns reveal containment failures you can fix before the next job.
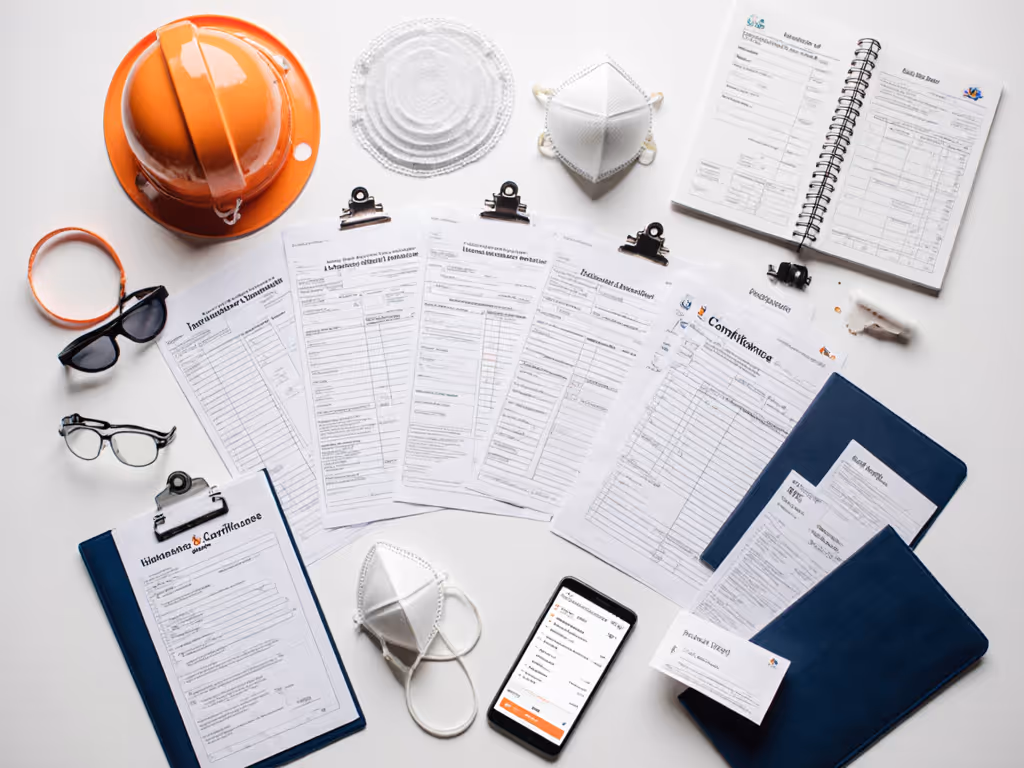
Final Compliance Reality Check
Q: How do I prove my insulation vacuuming guide meets regulatory standards?
A: Documentation is your evidence, not your word. Before any job leaves the site:
- Photograph filter test certificates
- Document vacuum maintenance logs
- Collect PPE inspection records
- Save disposal receipts showing proper landfill acceptance
Compliance isn't about paperwork, it's about proving you protected people. That's why I say: Containment protects people and businesses; compliance is good operations.
Ready to Implement This Safely?
This isn't just about avoiding fines, it's about protecting the people who trust you with their health and homes. Take 10 minutes before your next job to verify your vacuum system meets HEPA standards and your crew knows the containment protocol. A properly executed insulation vacuuming guide pays dividends in worker health, client trust, and fewer callbacks.
Seal every joint on purpose
Want to dive deeper into site-specific containment strategies? I've created a free downloadable checklist that maps OSHA and NADCA standards to practical site setups, no marketing fluff, just what actually passes inspections under pressure. Grab it below and make your next insulation job your safest yet.
Related Articles