Mold Remediation Vacuum: HEPA Containment Verified
By Aisha El-Sayed • 5th Nov
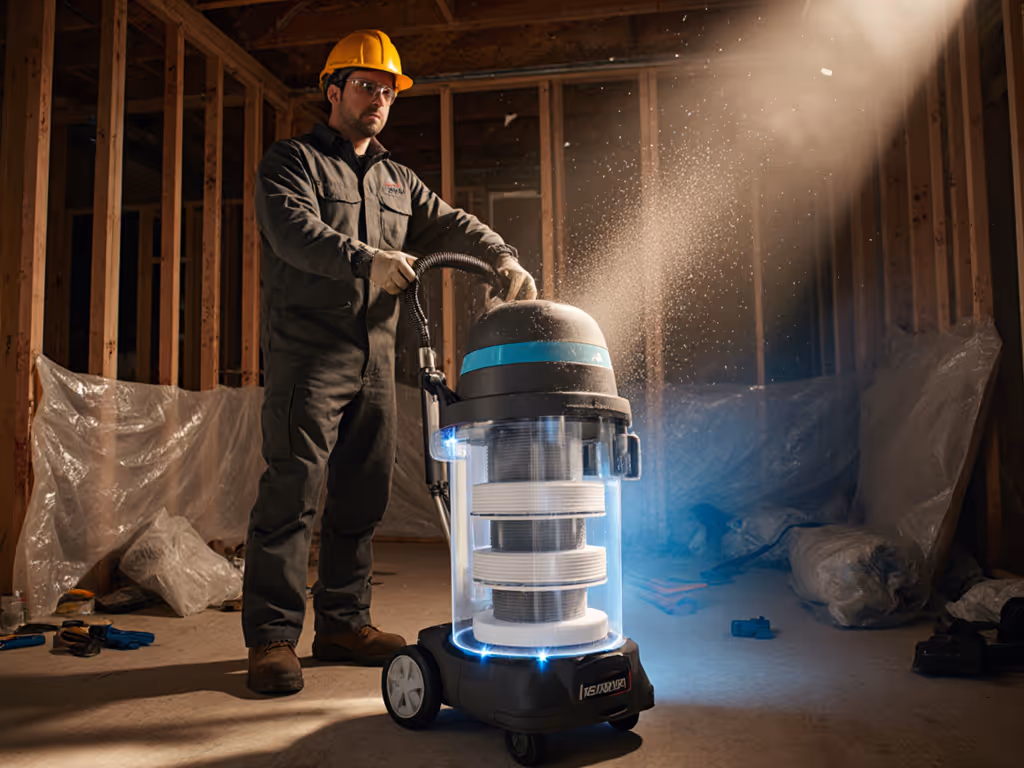
When tackling mold remediation projects, your vacuum isn't just a cleanup tool (it's the frontline defense for mold remediation vacuum systems and basement cleanup vacuum operations). Many contractors assume buying "HEPA" means compliance, but I've seen crews fail inspections because their vacs leaked spores at every seam. True mold spore containment demands verified HEPA filtration for mold combined with airtight engineering. This FAQ cuts through the marketing fluff with pass/fail criteria you can apply before power-up. Your lungs, and your liability insurance, depend on it.
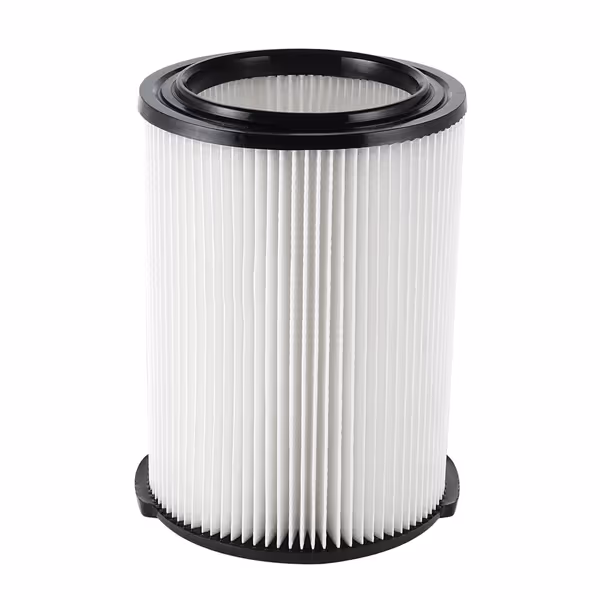
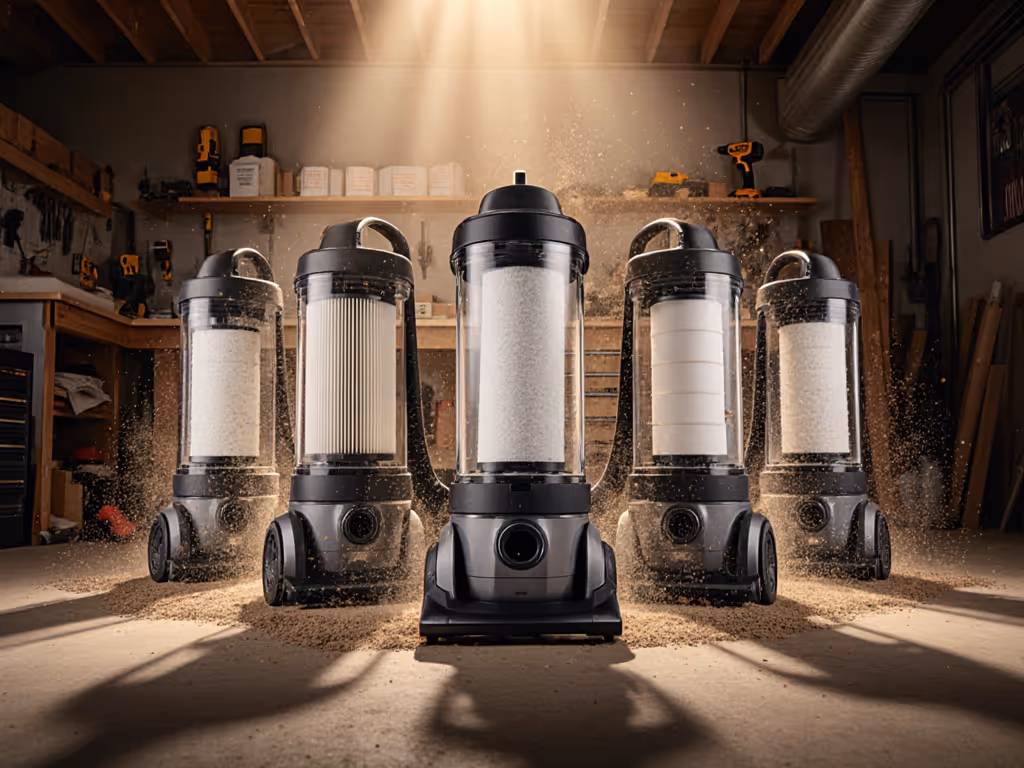
Rid-gid Wet/Dry Vac Filter Replacement
High-capacity filter for Rid-gid wet/dry vacs ensures consistent suction.
$18.99
CompatibilityRid-gid 6, 9, 14, 16 Gallon Vacs
CompatibilityRid-gid 6, 9, 14, 16 Gallon Vacs
Pros
Captures large particles without quick clogging.
Restores strong, consistent suction and airflow.
Washable and reusable for extended life.
Cons
Durability may not match original filters.
Customers find the vacuum filter fits perfectly and works well, with one mentioning it's a great replacement for Rigid vacuums. The durability receives mixed feedback, with one customer noting it's not as heavy-duty as the original.
Customers find the vacuum filter fits perfectly and works well, with one mentioning it's a great replacement for Rigid vacuums. The durability receives mixed feedback, with one customer noting it's not as heavy-duty as the original.
Why Can't I Just Use My Regular Shop Vac for Mold?
This is the #1 question I get after failed inspections.
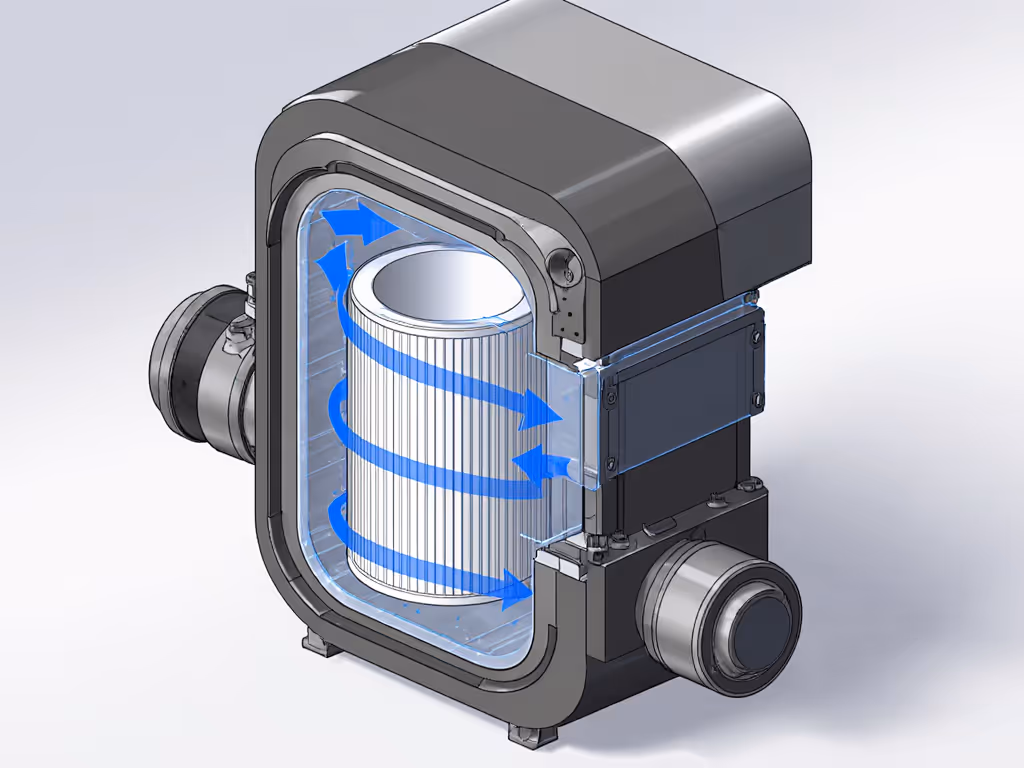
Pass/fail reality check: If your vacuum doesn't have a certified HEPA filter and a completely sealed airflow path, it's dispersing mold spores, not capturing them. OSHA and IICRC standards require 99.97% capture of particles at 0.3 microns (the size of most mold spores). Standard shop vacs vent exhaust through unfiltered motor compartments, turning your workspace into a spore incubator.
Remember that masonry crew I mentioned? They used a "high-efficiency" dry vac for basement concrete work. Their filter technically met HEPA specs, but joints leaked, the lid seal was cracked, and the exhaust blasted spores into the air. Result: $8,200 in fines and a client lawsuit for cross-contamination. Seal every joint on purpose isn't just my mantra (it's the law).
What Exactly Makes a Vacuum "HEPA-Certified" for Mold?
Don't trust the sticker. Verify these three elements:
-
True HEPA filter certification: Must be tested to MIL-STD-282 or EN 1822 standards (99.97% @ 0.3 microns). ULPA (99.999% @ 0.12 microns) is overkill for mold but useful in medical settings. Red flag: "HEPA-like" or "HEPA-type" claims without test reports.
-
Sealed system integrity: 100% of air must pass only through the HEPA filter. Check for:
- Gasketed seams between tank, lid, and hose ports
- Zero exhaust bypass around motor
- Rubber O-rings on filter housing (no fabric sleeves)
- Containment-safe operation:
- Wet/dry vacuum capability for accidental moisture contact (mold loves dampness)
- Antimicrobial vacuum features on filters/canisters to prevent spore regrowth
- Tool-trigger compatibility to avoid manual start/stop breaches For capability differences and safety limits, see our Wet and Dry Vacuum Guide.
Basement Cleanup Vacuum: Why Tank Design Matters More Than You Think
Basements introduce unique risks: moisture, limited exits, and potential HVAC cross-connections. Your vacuum must address:
-
Risk Category 1: Spore escape during emptying Bagless HEPA vacs fail here. Dumping debris releases clouds of spores. Requirement: Sealed HEPA bags or rigid canisters with twist-lock disposal. (I specify this in every basement site checklist.)
-
Risk Category 2: Filter saturation from humidity Mold remediation often involves damp materials. Requirement: Wet/dry vacuum capability with hydrophobic filters. Paper filters disintegrate when wet, causing catastrophic failure. Opt for washable PTFE-coated filters with antimicrobial treatment.
-
Risk Category 3: Negative air integration Basements need air scrubbers to maintain negative pressure. Requirement: Vacuums with standardized 2.5" ports (not proprietary fittings) to connect to HEPA air scrubbers like the OmniAire OA2000V. Verify CFM compatibility. Undersized vacs won't sustain negative pressure.
How Do I Verify My Vacuum Actually Works for Mold?
Skip the sales specs. Implement this pre-flight checklist:
-
The leak test: Run vacuum with HEPA filter installed. Hold damp tissue against all seams (especially lid, hose port, and exhaust). Pass criteria: Zero tissue movement. If it flutters, spores escape.
-
The filter audit: Demand test reports showing efficiency at 0.3 microns, not "99.9% of large particles." Confirm filter is replaced after every major job (spores colonize used filters).
-
The wet-dry vacuum stress test: Add 1 cup of water to debris chamber. Pass criteria: No motor overheating, filter maintains integrity, and no leakage at seams. (Many "wet/dry" vacs fail here with mold jobs.)
Which Vacuum Type Wins for Mold Spore Containment?
| Feature | Standard Shop Vac | "HEPA" Bagless Vac | True HEPA Wet/Dry Vacuum | Our Recommendation |
|---|---|---|---|---|
| Sealed System | ❌ | ⚠️ (Gasket gaps) | ✅ | Required |
| 0.3-Micron HEPA Filter | ❌ | ✅ (but leaks) | ✅ | Required |
| Wet/Dry Capability | ✅ (but filter fails) | ❌ | ✅ | Critical for basements |
| Antimicrobial Protection | ❌ | ⚠️ (on some bags) | ✅ | Required |
| Verified CFM for Room Size | ❌ | ❌ | ✅ | Required |
Data confirmed by industry testing standards (EN 1822) and IICRC S520 guidelines.
Critical Mistakes Contractors Make with Mold Remediation Vacuums
Mistake #1: Assuming "HEPA" means compliance Brand X's "HEPA Plus" filter? Tested at 2 microns, not 0.3. Verify the micron rating. One contractor I advised used this for a school remediation job. EHS auditors found 40% higher spore counts after cleanup.
Mistake #2: Ignoring hose/static risks Non-antistatic hoses cause dust cling and sparks near mold (which can be combustible). Requirement Mapping: Use conductive hoses with copper wiring. Test with a multimeter, resistance must be <10^6 ohms. Review essential precautions in our shop vac safety guide.
Mistake #3: Skipping negative air machine pairing A vacuum captures surface spores, but airborne spores need HEPA scrubbers. For basements under 500 sq ft, pair your mold remediation vacuum with a 600+ CFM air scrubber. Calculate required CFM using Spycor's free Air Flow Calculator (4-6 air changes per hour minimum).
The Right Filter for Basement Cleanup Vacuum Jobs
Don't just replace filters, strategize them:
-
For heavy mold growth: Use a HEPA filter with antimicrobial coating (like Atrix's sealed units). Pre-filter with a foam sleeve to extend HEPA life. Never reuse filters after toxic mold jobs.
-
For wet/dry vacuum scenarios: Paper filters dissolve. Specify washable PTFE filters (e.g., PhilyMex VF4000 for Rigid models WD06250/WD16350). They maintain HEPA efficiency when damp and resist microbial growth. Rotate two filters to avoid downtime during drying.
-
For final clearance testing: Use ULPA filters temporarily. While overkill for most jobs, they capture 99.999% of spores at 0.12 microns (critical for medical facilities or post-remediation verification).
Your Action Plan: From Setup to Certification
-
Before job start: Verify vacuum seals per pre-flight checklist. Document with date-stamped photos.
-
During containment setup:
- Place vacuum outside the containment zone
- Use airtight ducting to the work area (tape all joints!)
- Run negative air machine concurrently
- After debris removal:
- Dispose of HEPA filter/bag in sealed biohazard container Follow proper procedures in our vacuum filter disposal guide.
- Wipe canister with antimicrobial solution (70% isopropyl alcohol)
- Conduct air sampling per IICRC S520
- For OSHA compliance: Maintain logs showing:
- Filter replacement dates
- Pre-job leak test results
- CFM calculations matching room volume
Containment first; cleanup is the insurance your lungs deserve. Too many contractors treat vacuums as afterthoughts until a citation hits. I've built my entire protocol around this truth: Seal every joint on purpose. It's not about ticking boxes. It's about walking off a job knowing your crew breathes easier tomorrow.
Further Exploration
Want to avoid the pitfalls that sunk that masonry crew? Download my free Site-Ready HEPA Verification Checklist, which includes the exact leak test method, filter replacement logs, and OSHA cross-references. I've mapped every requirement to actionable steps you can implement in 10 minutes.
Note: This guide reflects industry standards as of November 2025. Always consult latest IICRC S520 and OSHA 1926.1153 for regulatory requirements. Models mentioned are for illustrative compatibility examples only.
Related Articles